
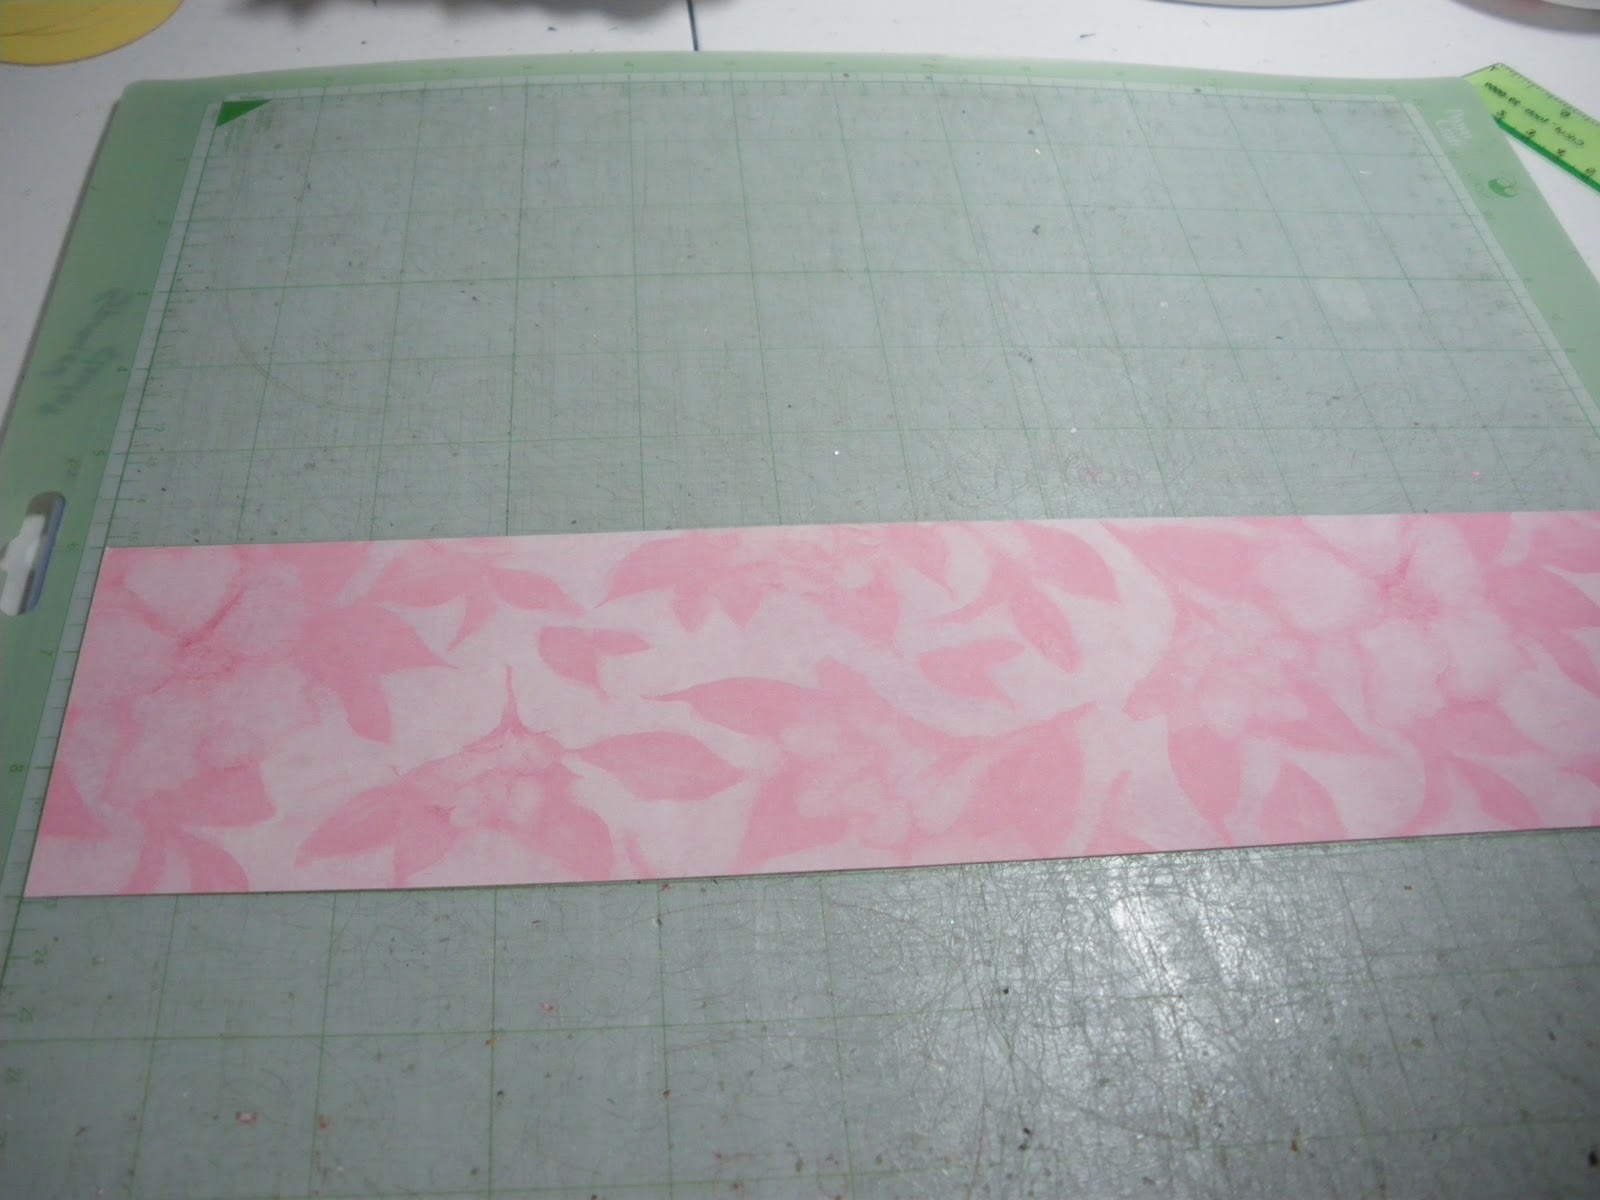
Since I have a lot of pictures, I'm going to dive right into the tutorial. I love making flowers and have been blessed to have a friend who has been more than willing to teach me a few different techniques and styles. The first flower I'm going to share with you uses cardstock. I chose a 12 X 3 double sided cardstock scrap I had in my scrap bin. It's from the K & Co Spring Blossom paper stack.

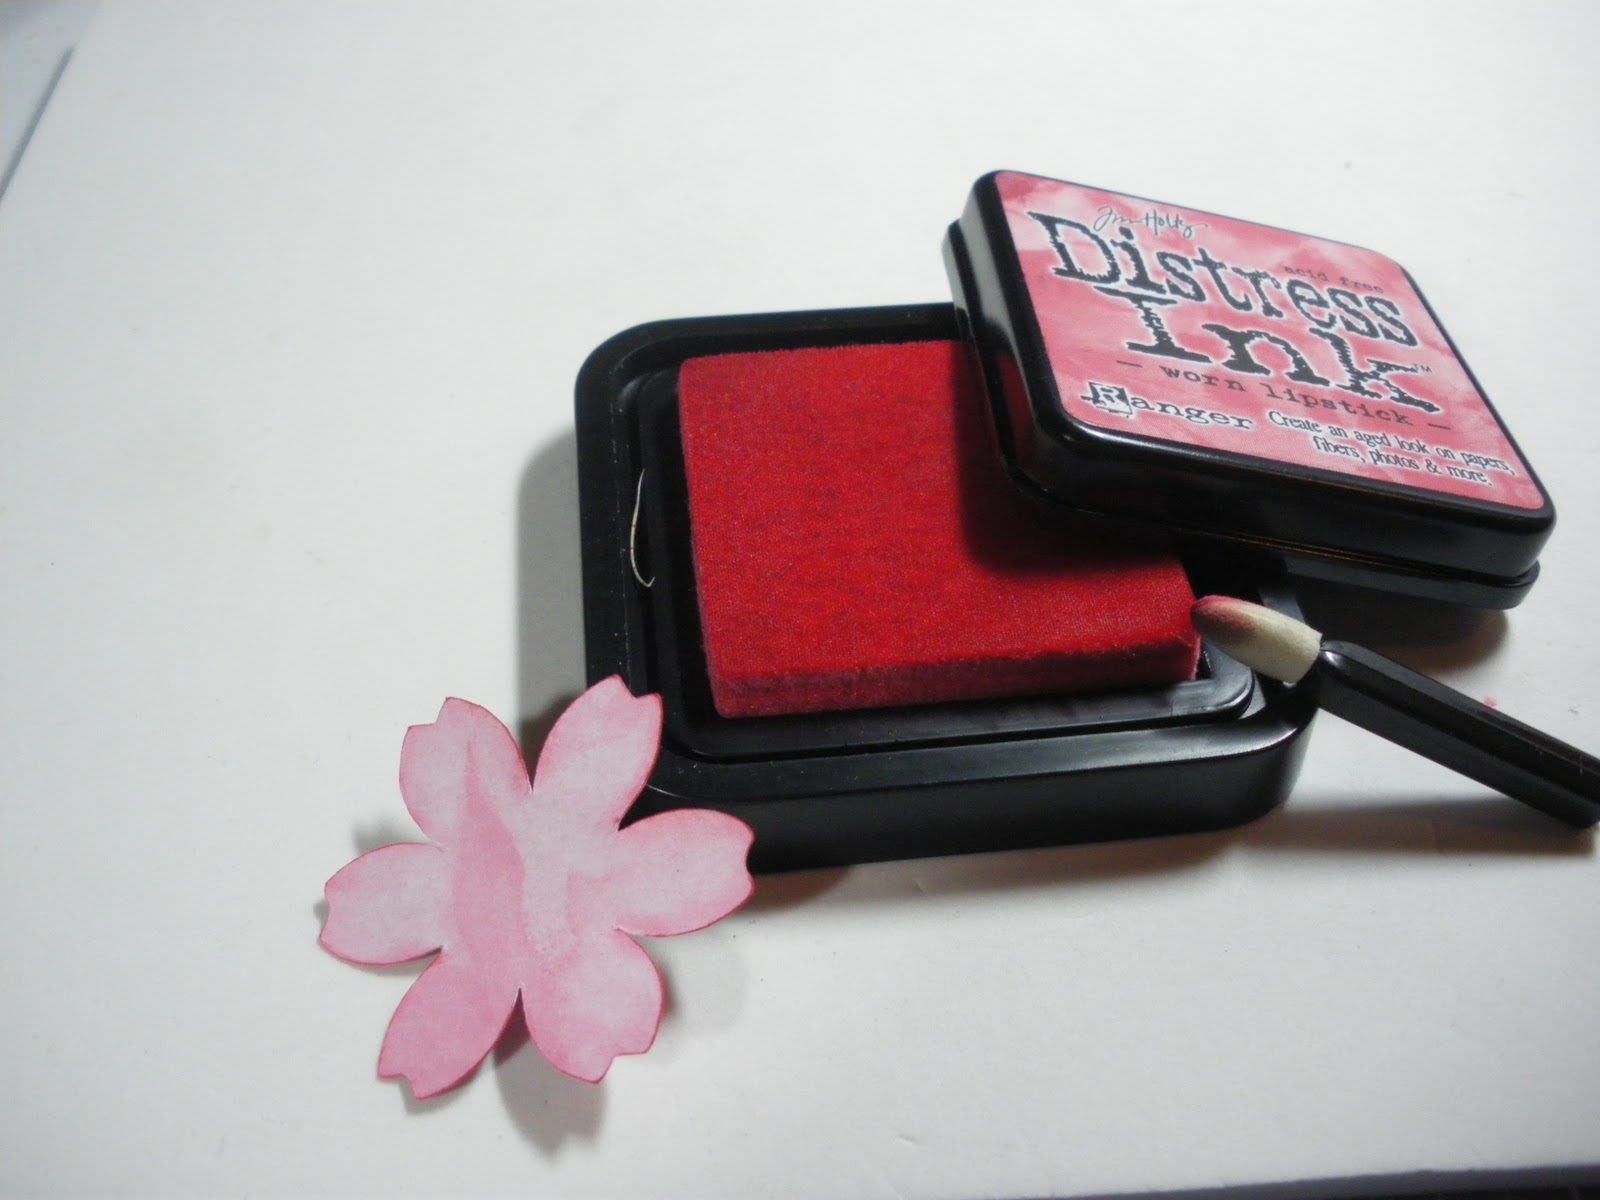
Isn't it pretty? I cut 5 flowers from Mother's Day Bouquet (flower #7 @ 2.75", 2.5", 2.25", 2", 1.75"). Next I inked the edges of both sides with Worn Lipstick distress Ink from Ranger Ink.

Now, find a crafting tool that has a nice handle, preferably with a rounded bottom. If you have the Cricut tool kit, you should have several of these handles available to you. I used the Cricut spatula.


Place a flower cut on the fun foam and using the handle of your spatula, press into the flower, using a constant circular motion.

Continue the circular motion around the whole flower, including each petal, and also between petals. The flower will start to curl inward.


I used my Tim Holtz Tonic Studios retractable paper piercer . I have discovered that Tim Holtz has the BEST tools! That is a saying me and my crafting buds share, and it seems to be true. After piercing the layers, I added an extra special brad (purchased from the Eyelet Outlet).

I decided to emboss some leaf stamps using Versamark, embossing powder and a heat gun. Caroline, your Technique Tuesday tutorial was not lost on me!

I fussy cut them, and they, and my flower, are ready to be used on a project.

Onto the next flower. This one is one I was not officially taught to do, but figured it out on my own. It's very simple. I have been saving this gorgeous ribbon scrap that I received on a Christmas gift for a year or two, waiting for the right time to use it. Well, the time is now.

After choosing your ribbon, find some coordinating thread in your sewing kit. Thread a need, and tie a knot. You will want to use double thread.

Sew a running stitch close to one edge of the ribbon, from one end to the other.


It should look like this when you are done.
Next I used Glubers (large glue dots made by Cosmo Cricut for flower making).
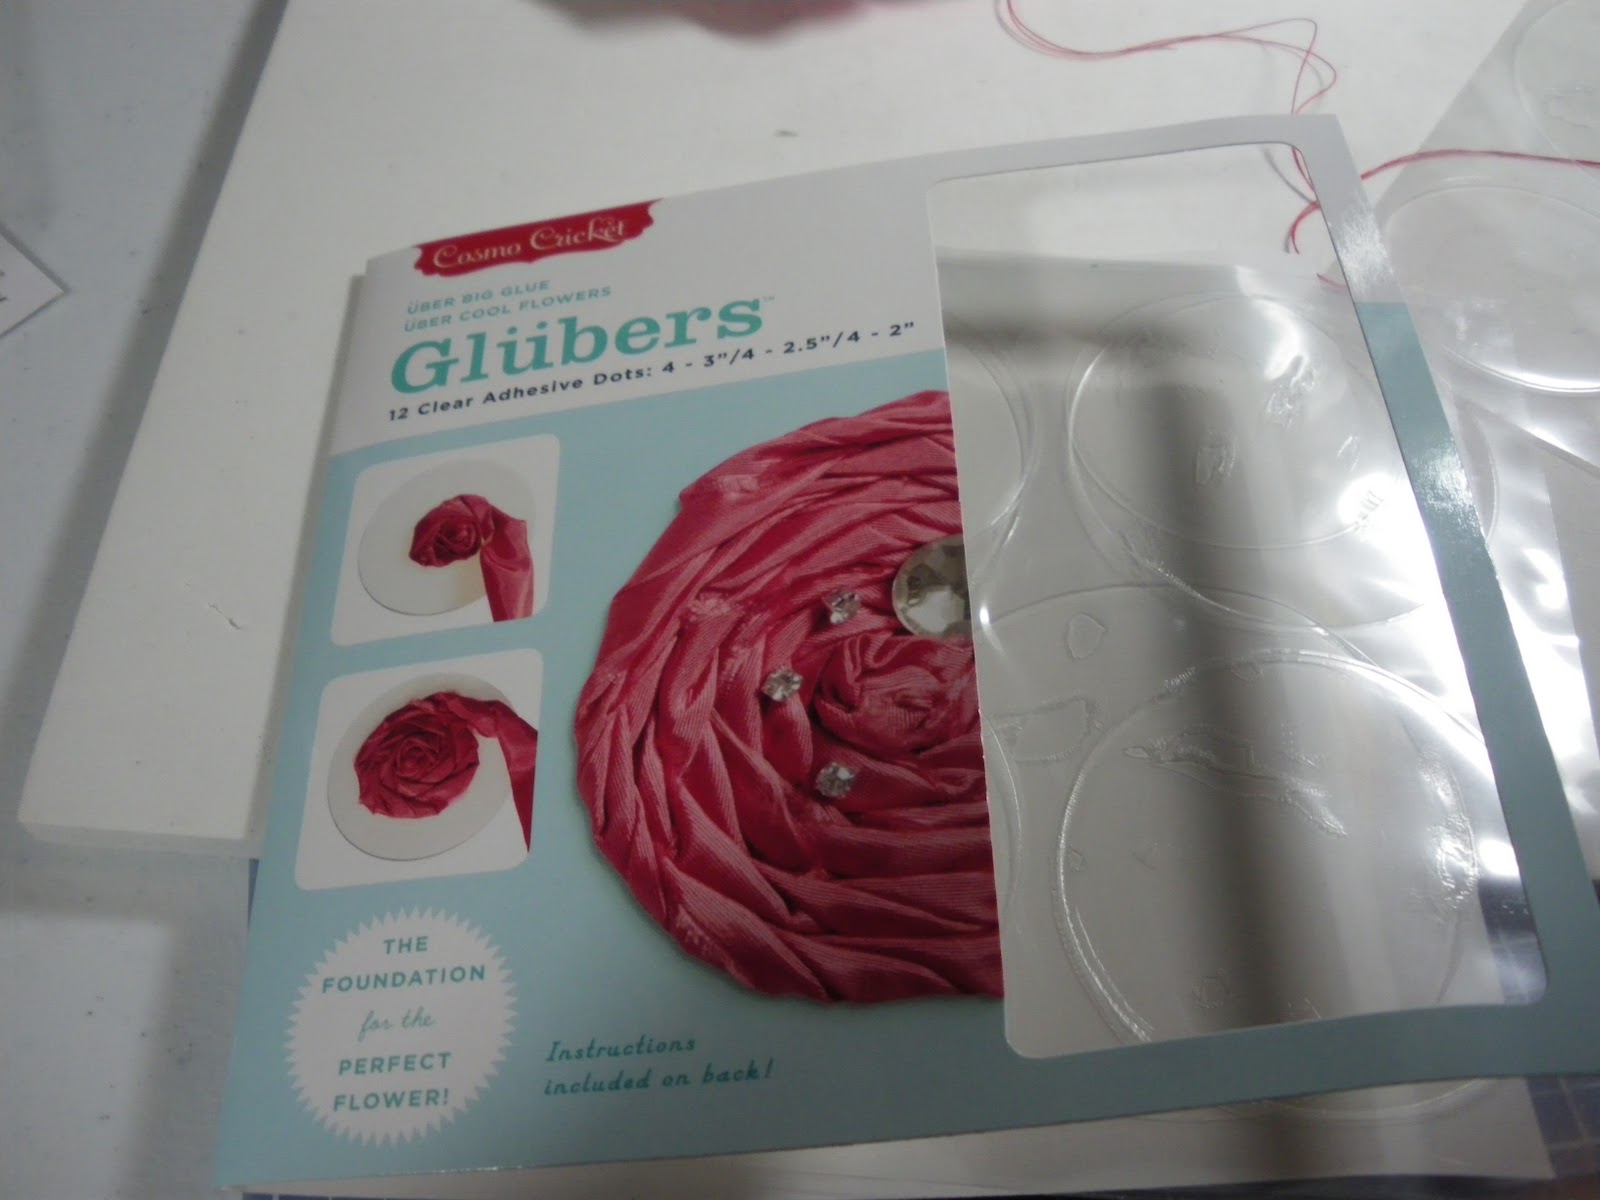
This pack has multiple sizes. 4@ 2", 4 @ 2.5" and 4 @ 3". For this flower I used a 2" Gluber. I cut the Gluber, keeping it on the backing, to make it easier to use.

Next I took the ruffled ribbon and started the flower by placing it on the outside edge of the glue dot, and pressing it down onto the glue.

It was very easy to shape the ribbon to the glue circle. I went around the outer edge and then moved on towards the center with a second row.


I continued until I had covered the whole inside of the glue dot. I did not have to cut any excess ribbon (this was shear luck). Once I had covered the whole dot with the ribbon, I cut off the excess thread that I had left on the ribbon.

Hopefully you are still in the mood to see another ribbon flower. This was one of the first I learned to make, and it is so easy and I love the result.
First, punch a circle. I find a 3/4 inch circle works best for me, but I lent my 3/4" circle punch to a friend so I had to find something else. Enter the largest flower from the Stampin Up Boho Blossoms Punch.

I used a Zotz medium glue dot (I'm pretty sure it's a medium glue dot, but I can't be 100% sure because I threw away the box) and attached it to the middle of the punched flower (the one you see in the background is not the Zotz glue dot, I tried a thinner glue dot and it's not as good....use the thick ones).
Next, I took a 1/4 satin ribbon (the kind you can get at Michaels on sale for like 5 for a $1.00) and tied a knot in the end of the ribbon.

I started my flower by smooshing the knot into the center of the glue dot. I pushed the cut edge into the dot as well.

Now, once the edge is placed into the glue dot, I twist the ribbon and wrap it in a circle motion around the center knot.

and I continue....

twist, wrap, push into glue dot


Keep going until you have covered the whole glue dot.

Cut the ribbon leaving a very small tail (about 1/4 to 1/2 inch). Now, using a paper piercer, stylus, or something with a small pointy edge.....

tuck the ribbon tail into the glue dot (under the twisted ribbon).

It should look like this. Now, cut around the glue dot (removing the petals) and you will have a ribbon flower...

I've also left the petals on and used the ribbon as the flower center. The choice is yours.
Now, I have 3 flowers to use as embellishments for cards, scrapbook layouts or altered art.

Deadline to post is next Tuesday, November 8th. The winner will be chosen at 9:00 PM EST.
Thanks for stopping by!
Carole from onmycraftroomwall
Great Technique!!! Thanks for sharing
ReplyDeleteLots of options, I need to try all of them and I would if I werent such a slacker lately.
ReplyDeleteGreat techniques. I love flowers and can always find more ways of doing flowers. TFS
ReplyDeleteThanks so much Caroline. Love the ribbon flowers so much, although I am not girly girly, I do love the texture of the ribbon flowers.
ReplyDeleteCarole I love these! I have tried those gluber flowers more than once but I can never get them right. You are going to have to show me first hand in Orlando.
ReplyDeleteWow Carole, what an amazing tutorial! I've seen those Gluber's before and wondered if they worked, so thank you.
ReplyDeleteCaroline - what a busy girl you have been. Love all the flowers, can't wait to give them a try.
ReplyDelete