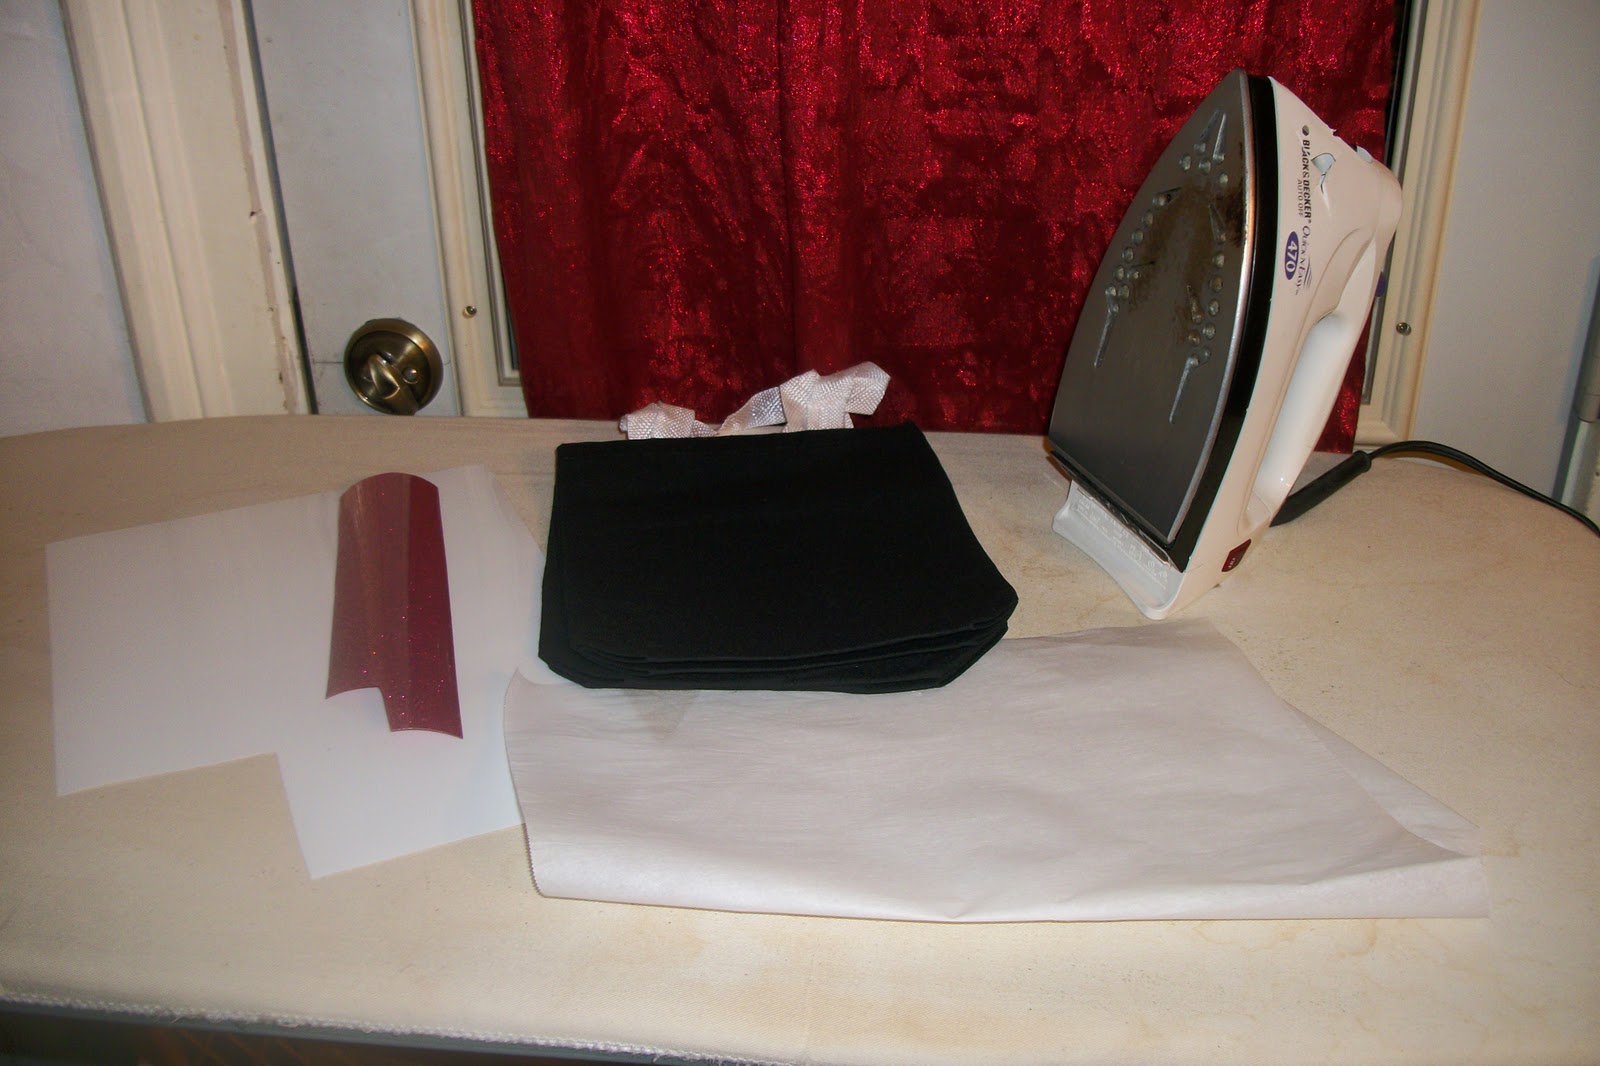
It's time for a tutorial! This month's tutorial is going to be about how to apply heat transfer vinyl. I personally get mine from Nick at
Craft Vinyl - but I have had several people tell me it is also available at their Joann's or ACMoore. And I know some people love their Yudus - but I do not have the patience to wait for all the steps in that process. With heat transfer vinyl I can have my projects done in less than half an hour (on a good day). Let's start with the supplies:
I have my cotton tote bags, vinyl, iron, and parchment paper ready to go. The iron should be dry (pour the water out if it is a steam iron) and very hot!
This is my image from Helly Kitty Greetings (5 inches using the Silhouette feature). You have to flip the image either on your Gypsy or Expression.
So here is is flipped. For images it really isn't super important but you should know if you don't flip it the image when it is ironed will be facing the opposite way.
For words you must flip the image - so here is the phrase I used flipped - "Happy Halloween" from Wild Card cut at 2 inches real dial size.
Now it is time to cut! Make sure you place the vinyl on your mat shiny side down - you want to cut the dull side. Basic vinyl settings apply: Blade depth 3 - Medium Pressure - Medium Speed
Once the images are cut you need to weed all the excess - which basically means peel off all the stuff around the cut. Your cut image will stay on the plastic and it should. I will say also give you this tip - I was using glitter vinyl here - and that is a bit thicker so I use a longer blade depth and it is much more difficult to weed and see where the cut are (so some swearing might be necessary to facilitate the process).

You want to place your image shiny plastic up on your tote or shirt.
Then place parchment paper over your item and the vinyl and then iron over the top. Don't stay in one spot too long - sweep back and forth for a few minutes. Then set it aside to cool. This is the hardest part since as I mentioned - not a fan of waiting - but you have to *sigh*. Once it is all cooled down I peel off the plastic layer, put the parchment back on and then do one more quick swipe to make sure it is really on there.
All done! It was so easy that I also added some heat set gems/studs to finish it off.
I also made another one - this is for a little boy so I chose the bat image from Pumpkin Carvings cut at 6 inches. I also added the heat set stars to this one.
Oh and I didn't forget the phrases - I put those on the back of the bags.
And that is all there is to it! I hope this inspires you to work with a new product and make some great projects! And to sweeten that inspiration - we have some blog candy! This month's blog candy is a $15 gift card to Michael's or Joann's (winner's choice) courtesy of Caroline! Isn't that awesome? All you have to do is leave a comment here to be entered - and it you link a heat transfer vinyl project here you will get a second entry in the drawing! You have until Monday, October10th to be entered. Happy crafting!
---Allison