Showing posts with label Technique Tuesday. Show all posts

Tuesday, February 7, 2012

Technique Tuesday - Photo to Copics

Kymberlee posting here today from The Paper Midwife. It's the First Tuesday of the month here at PCWC so you know what THAT means....
TECHNIQUE TUESDAY!!!

I am so excited to share with everyone here today in my very first Technique Tuesday Guest Designer post! I can't thank Caroline and Allison enough for this opportunity. LOVE you guys <3

Okay enough with the sappy stuff and on to what I have for you today...

I took a Copics basic and intermediate certification class back in September and since then I have been a voracious MONSTER learning all I can and playing, experimenting, and playing some more.  One of the things I was really interested in was realistic coloring, more specifically making photos into line drawings to color.  Now I am no pro photographer but I happen to have a daughter that IS and as an added bonus, she also has some pretty adorable subjects that I wanted to color.  BOOYA!

I struggled trying to figure out HOW to convert my photos using Photoshop but rather than me making this long post even longer I am going to give you a CHEAT and HUGE shortcut to circumvent the learning curve.  You can find a step by step tutorial from photoshopbuzz.com HERE or just download the FREE ACTION HERE

Now that you know how to turn you favorite into a  line drawing, you may need to tweak it some using your contrast adjustment layer to lighten or darken the photo depending on how much guidance you want in your coloring.  I went for broke and just wanted the major landmarks so I took this original photo of my grandson "Roo":

Stripped it down to THIS:

then printed it out on my LASER printer onto BeePaper 110# Artist Marker paper


Then using my Copics and the original photo as my guide, I colored it to THIS:

I did the other grandson too so I can frame them for my daughter for Valentines.
I need some practice but I am pretty happy with this first attempt.

and a self portrait...

Now grab your favorite photograph and your markers and don't be scurrrrred...GO FOR IT!!! 


Tuesday, January 3, 2012

Technique Tuesday - Learn to Love your Xyron

Happy New Year! and who can believe it is time for Technique Tuesday already? This month I am going to share with you how to use one of my favorite tools - the Xyron machine. I bet there are some of you who have one and *gasp* haven't even used it! I am giving you the stinkeye right now because I expect you to march right down to your craftroom and get it out - you won't be sorry! You don't need one of their bigger machines - an X or a 250 will do - that is all I have - although I have to say - I fream of the day that Xyron 500 will come home with me!

So I began my Xyron exploration with the following supplies:


  • Martha Stewart Glitter and Flocking
  • Glitter Tray
  • Paint Brush (stolen from child)
  • Acrylic (recycled from cartridge clamshells)
  • Xyron 250


I cut four snowflakes at 2 inches from the Sesame Street Seasons cart out of the acrylic which I decided to use because I didn't want any paper colors to interfere with my various glitter colors.However I think you will see there was an unintended but very welcome result with how my snowflakes turned out!

 I ran them all through the Xyron and then I lay the sheet (flake side down) on my mat and use my spatula to burnish the back of the tape. You can also then flip it over and use something like a bone folder to outline the shape to reduce "glue boogers" - which I have never found to be too great an issue.

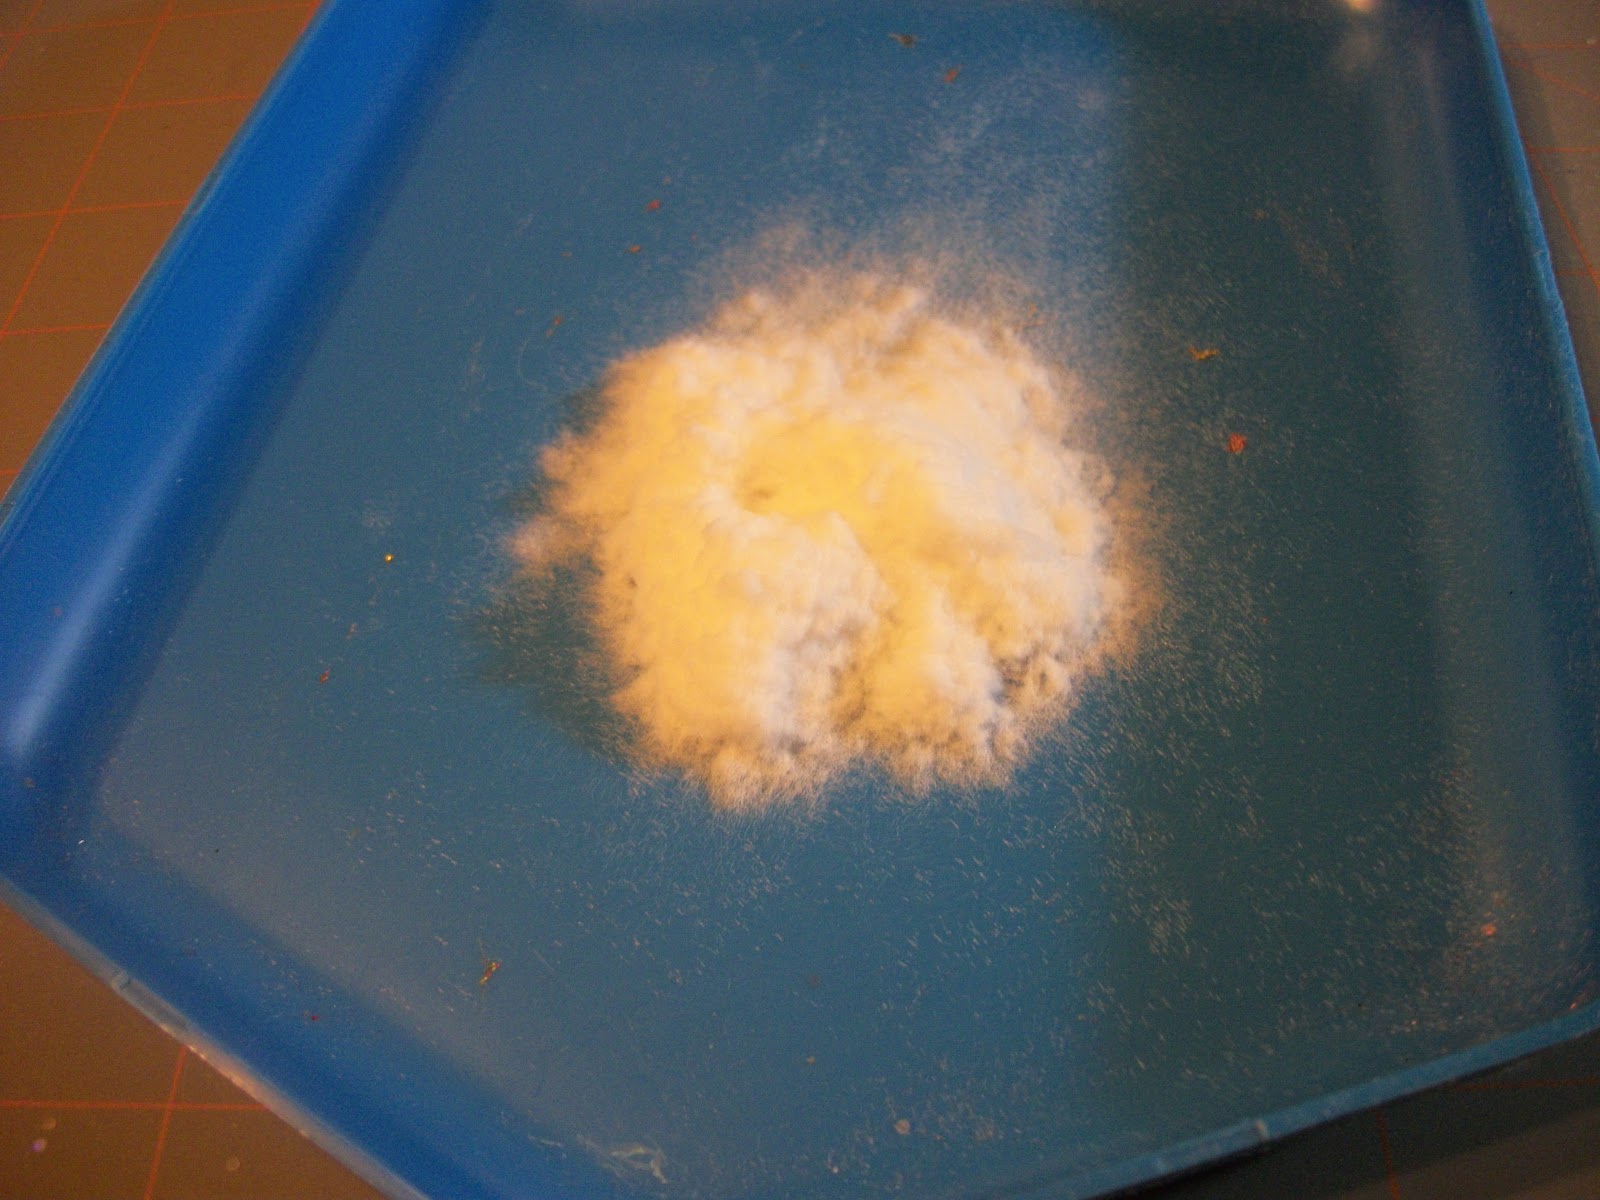
I placed a flake in my tray and dumped a bunch of flock over it. 

Then you can lift the cut out and shake off the excess. I hope you can tell from the picture here that this is when I realized the acrylic was a fabulous choice because you can see the flocking but it still gave the illusion of being translucent and snowflake-y.

I realize these next set of pictures didn't come out terrific but trust me they look better in person! 
White Flocking

Fine Glitter

Tinsel Glitter

Microbead Glitter

And here they all are in a row for your comparison:

And the beauty of the Xyron? No drying time! Because I certainly don't have the patience to wait for things to dry. Not to mention it is so easy you can do this all with a two year old on your lap. Want to know how I know??

I hope this has inspired you to get your Xyrons out (or maybe even enabled you to get the coupons out and go get one) and since it is Technique Tuesday that means we have blog candy!

I have a Designer's Calendar cartridge to give away to one follower who leaves a comment on this post. Why this cartridge? It has tons of extras for every holiday and one of my absolute favorite fonts. What better way to start off your year? You have until next Tuesday, January 10th. Happy Crafting!
---Allison

Tuesday, December 6, 2011

December Technique Tuesday ~ Crinkle Ribbon

Wow it's already December's Technique Tuesday. where has the time gone? This month we have a really EASY tutorial on how to make crinkle ribbon aka seam binding ribbon. I love the look and feel of the crinkle ribbon. It's very soft looking and not very stiff. There are plenty of sites that sell ribbon already crinkled but for the cost I prefer to buy it and dye it myself.

I purchased rolls from Amazon. I like the eggshell color cause it seems to have a slight ivory tint to it. Make sure you get the rayon seam binding. In order to dye them you will need the following items:

* Seam binding
* Mini Misters
* Liquid Reinkers (I'm using Stampin Up reinkers but any wet ink will work)
* Gloves (if you don't want ink on your hands)
* Freezer paper (or other protective paper (like wax paper))
* Water
* If you want to add a hint of shimmer then you sill need some perfect pearls and some alcohol ink blending solution.


Step 1:
Cut the seam biding for the size you want. It can be a little or a lot. That's the beauty of dying your own ribbon.

Step 2:
Spray the ribbon with a little bit of water. Scrunch the ribbon into a ball.
Step 3:
Fill a mini mister 2/3 of the way with water. Add a few drops of ink to the water. The more drops the darker the color. The less drops the lighter the color. If you want the shimmer add a little scoop to the water/dye mixture. Add a drop or two of alcohol blending solution. It helps bind the shimmer to the water/dye mixture.

Step 4:
Spray the ribbon and use the ribbon to pick up the excess spray on the freezer paper

Step 5:
Scrunch the ribbon in a tight ball

Step 6:
Continue to spray/pick up ink to achieve the color you want


Step 7:
If you want it to dry super fast hit it with your heat gun for a little while. Be sure to move the heat gun around because the ribbon will burn if you leave the heat in one place.
NOTE: If you don't want/have a heat gun leave the seam binding in a ball and let it dry on it's own. Depending how much water/dye you used will depend on how long it takes to dry.

Continue the stops above for additional colors. If you want to mix colors start with the lighter color and then apply the darker color and use as little or as much as you want.


Another way to dye the ribbon if you want a darker color start with your water/dye mixture to get a base color


then add a few drops of ink directly the to paper you are working on


Then use your ribbon to pick up the ink but be sure to do it slowly as to not get to much color in one spot


Here are the completed colors.

Now in traditional with our Technique Tuesday tutorials you can win some crinkle ribbon. You can either have it dyed or you can have un-dyed ribbon so you can dye it yourself. All you need to do is leave a comment here. Winner will be announced on Tuesday December 13th.

Tuesday, November 1, 2011

Technique Tuesday-Flowers are Fun to Make

Hello PCWC followers! Thanks to Caroline and Allison for inviting me to be the first Technique Tuesday guest instructor here on their awesome blog.

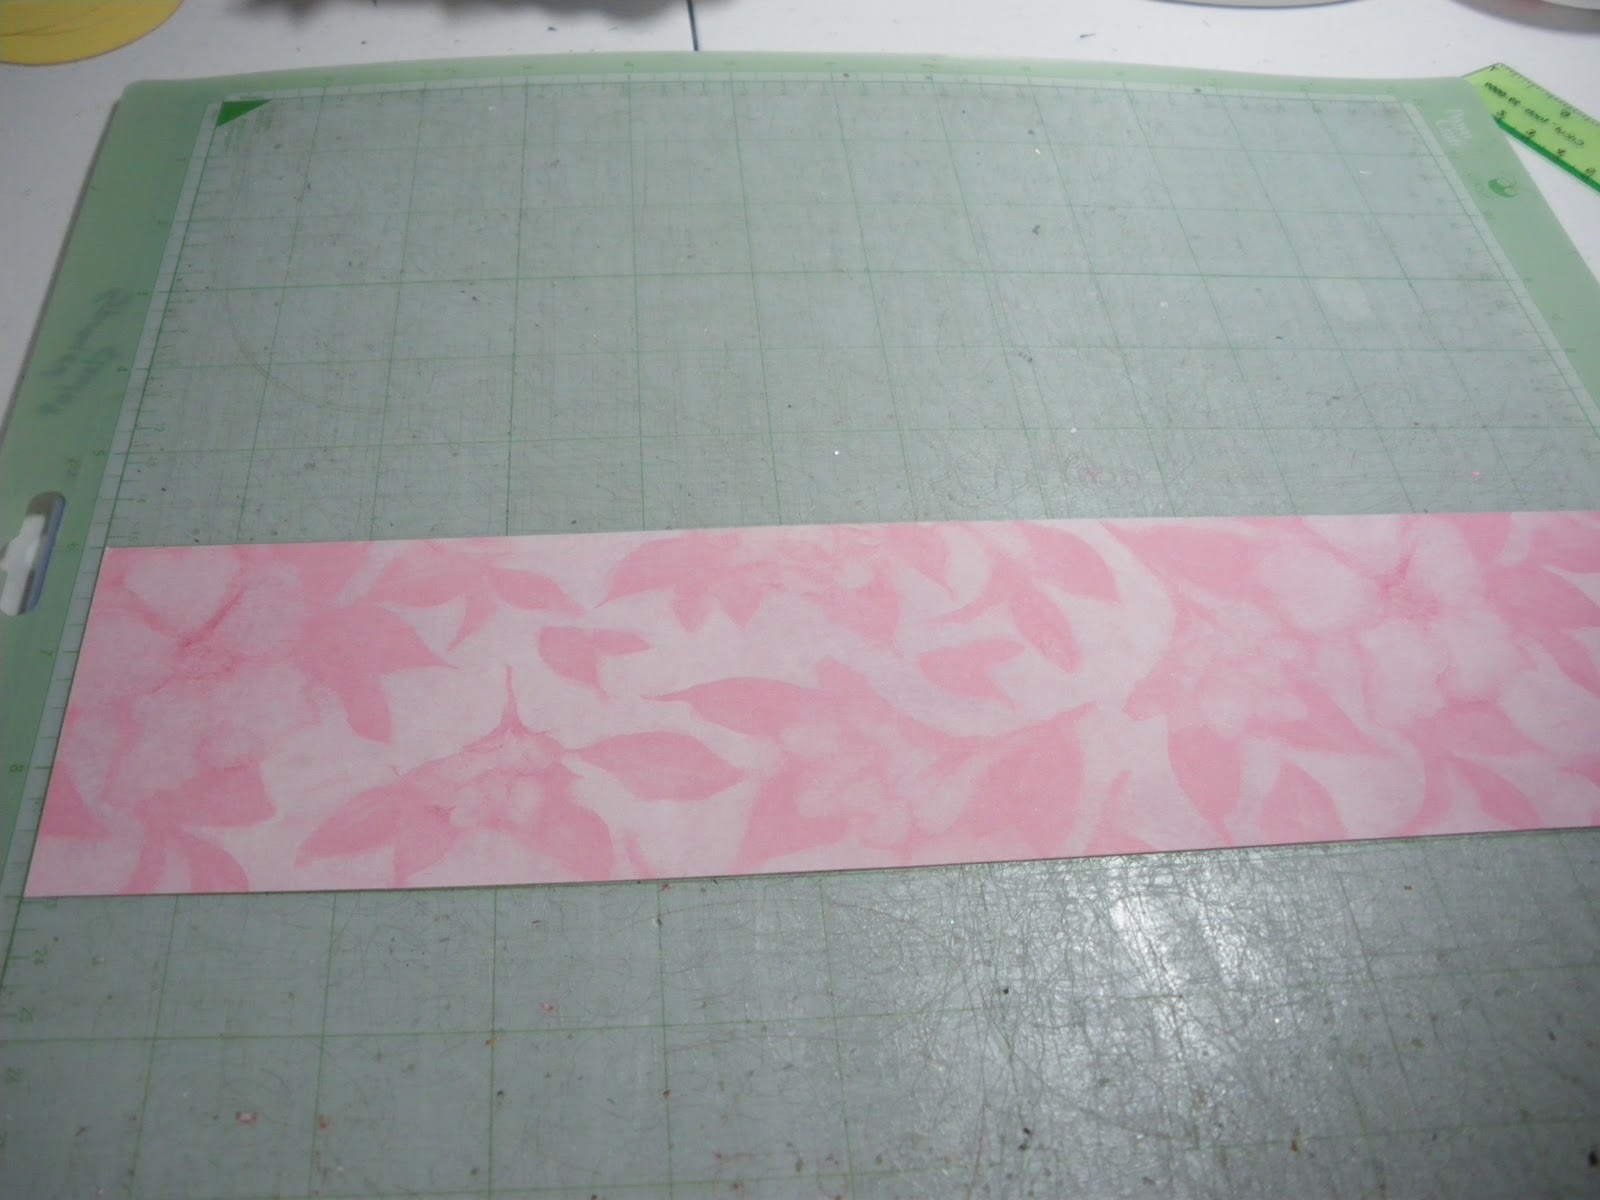
Since I have a lot of pictures, I'm going to dive right into the tutorial. I love making flowers and have been blessed to have a friend who has been more than willing to teach me a few different techniques and styles. The first flower I'm going to share with you uses cardstock. I chose a 12 X 3 double sided cardstock scrap I had in my scrap bin. It's from the K & Co Spring Blossom paper stack.


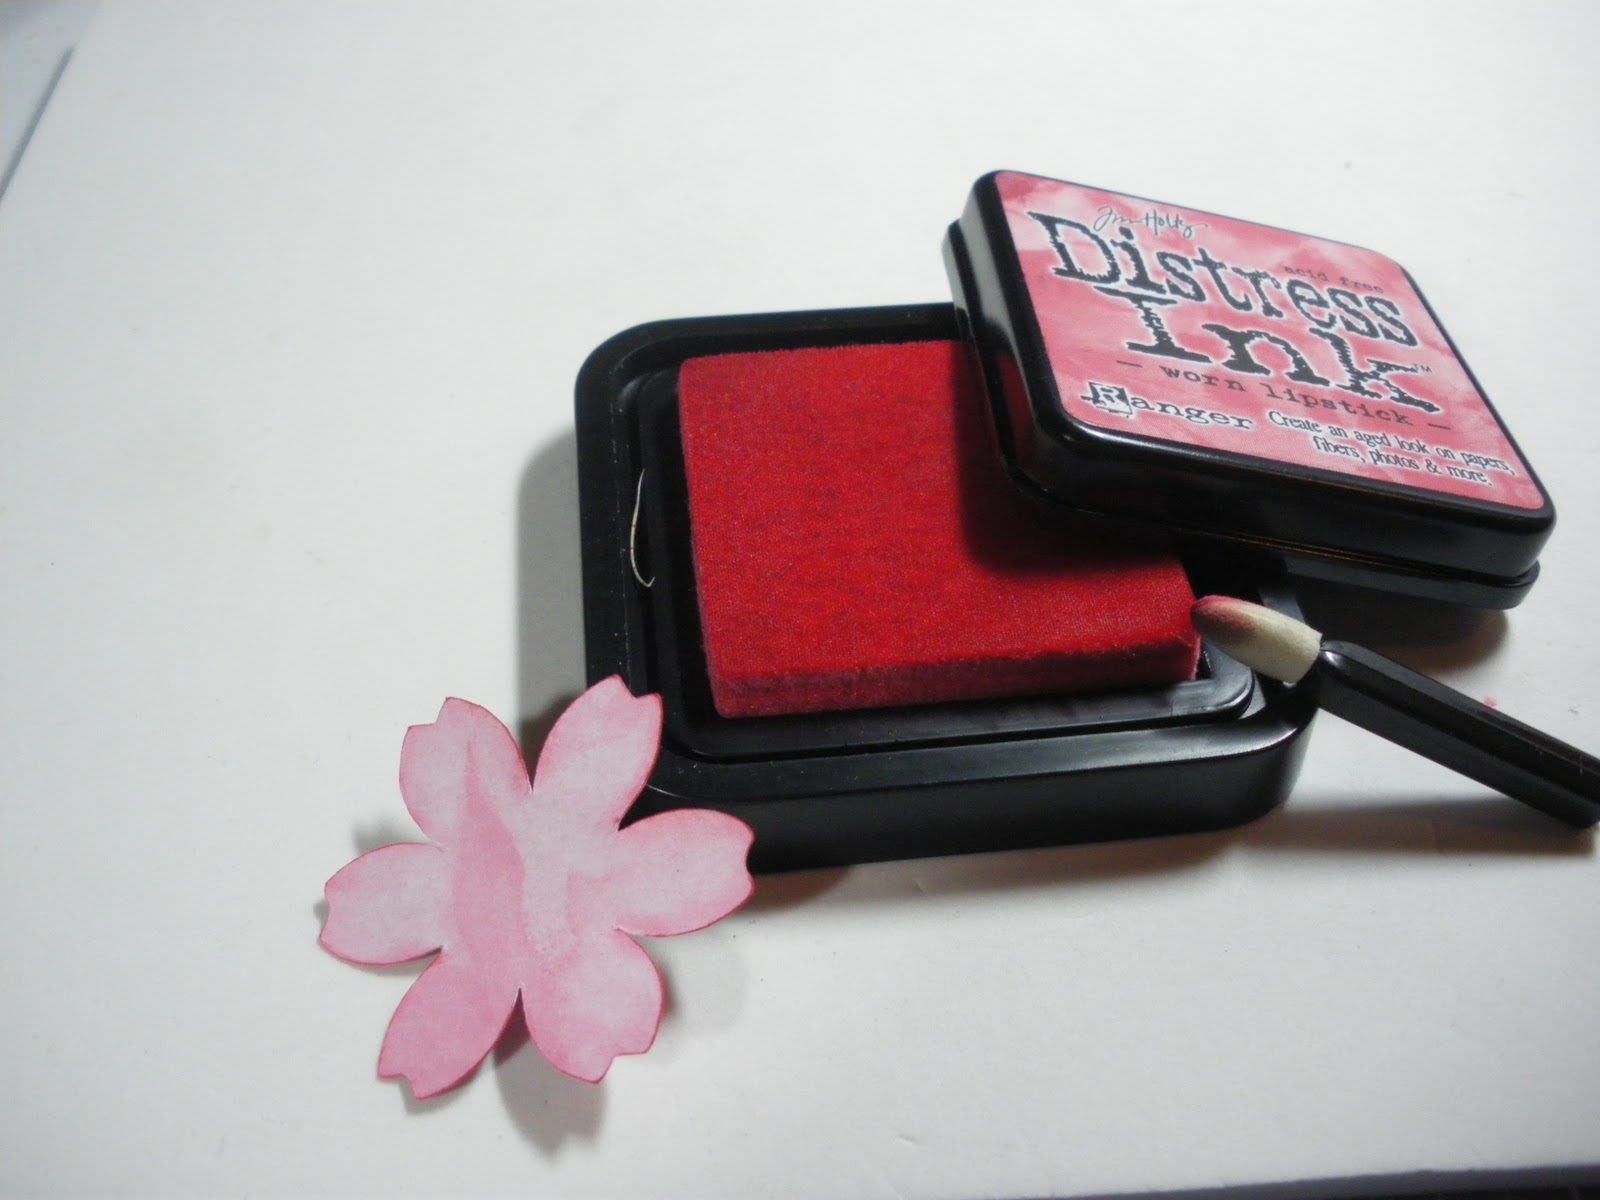
Isn't it pretty? I cut 5 flowers from Mother's Day Bouquet (flower #7 @ 2.75", 2.5", 2.25", 2", 1.75"). Next I inked the edges of both sides with Worn Lipstick distress Ink from Ranger Ink.


Now, find a crafting tool that has a nice handle, preferably with a rounded bottom. If you have the Cricut tool kit, you should have several of these handles available to you. I used the Cricut spatula.


And a piece of fun foam.  I purchased this for 99 cents at Michaels. This inexpensive mat has been an invaluable tool for me. I purchased it to use when stamping images, but have used it even more for making paper flowers. It has the perfect amount of "give" for rounding flowers.


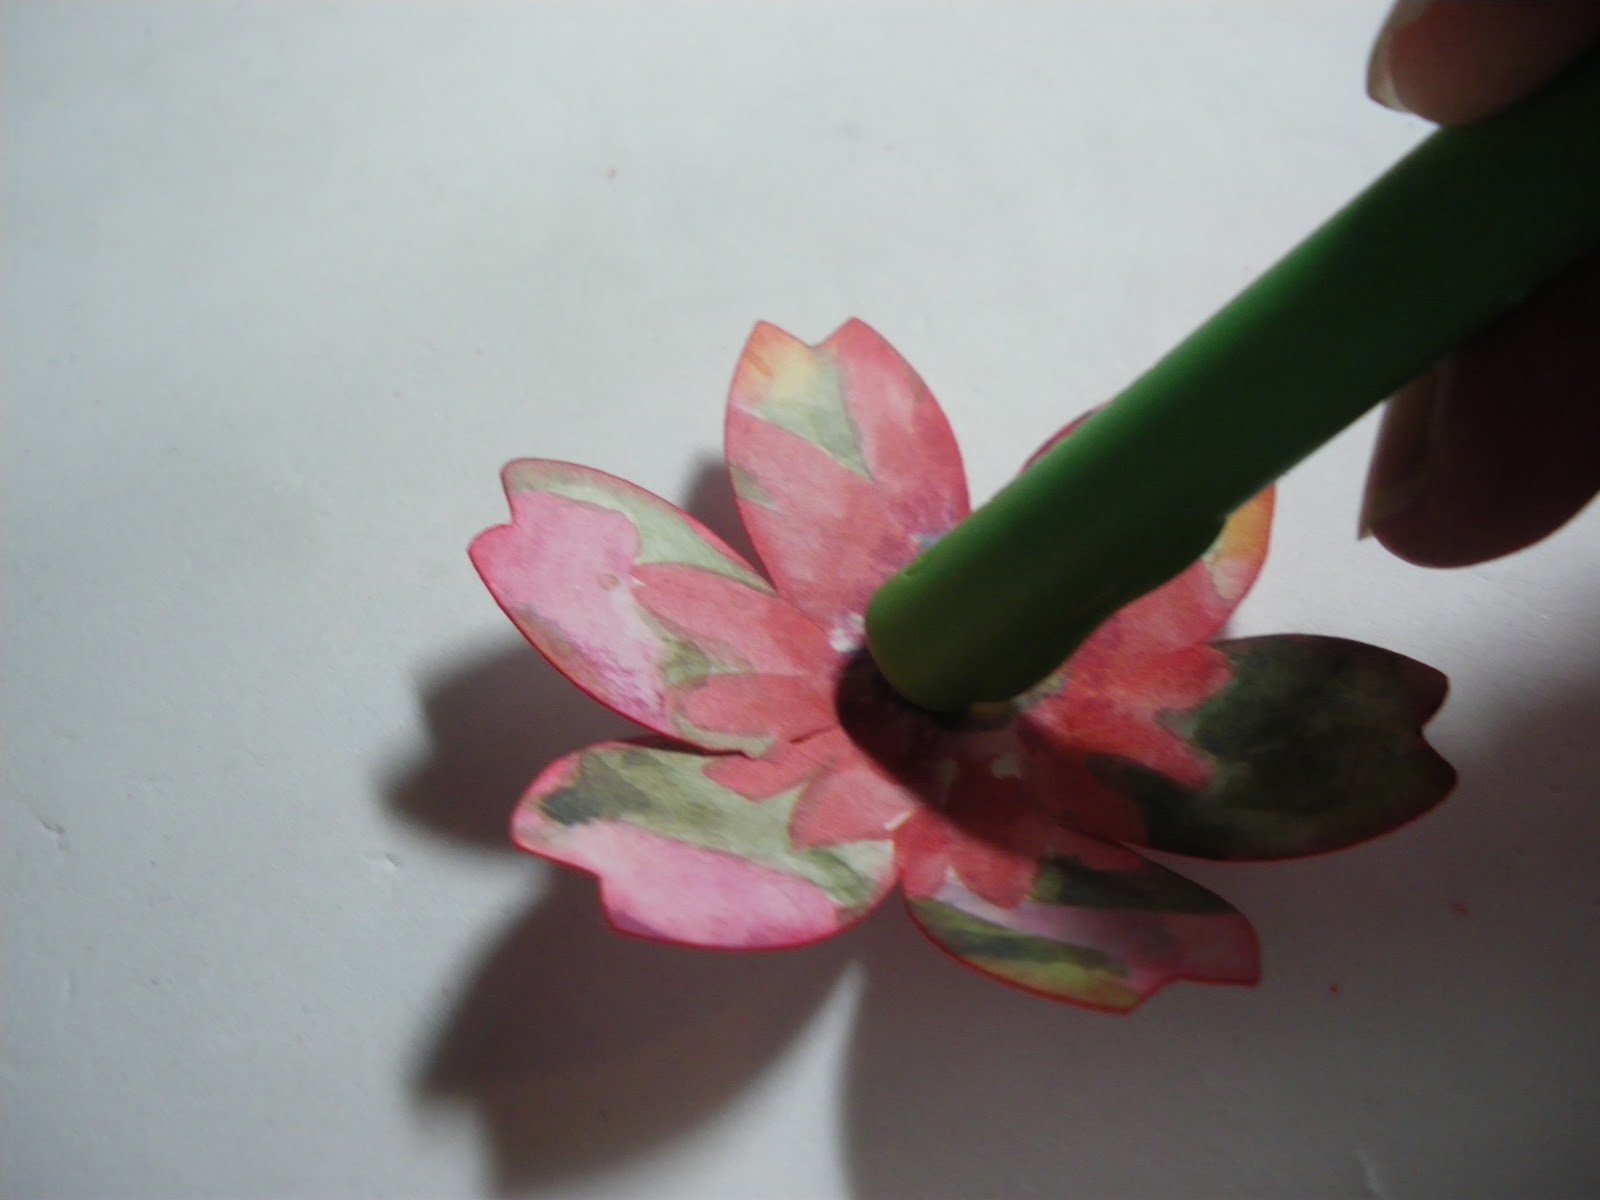
Place a flower cut on the fun foam and using the handle of your spatula, press into the flower, using a constant circular motion.


Continue the circular motion around the whole flower, including each petal, and also between petals. The flower will start to curl inward.


Do this with each of the 5 flowers. Once done, stack them from largest to smallest. I stacked the two largest, and then the 3 smallest, in anticipation of having to poke a hole (5 layers are hard to poke through all at once) in the center.


I used my Tim Holtz Tonic Studios retractable paper piercer . I have discovered that Tim Holtz has the BEST tools! That is a saying me and my crafting buds share, and it seems to be true. After piercing the layers, I added an extra special brad (purchased from the Eyelet Outlet).


I decided to emboss some leaf stamps using Versamark, embossing powder and a heat gun. Caroline, your Technique Tuesday tutorial was not lost on me!


I fussy cut them, and they, and my flower, are ready to be used on a project.


Onto the next flower. This one is one I was not officially taught to do, but figured it out on my own. It's very simple. I have been saving this gorgeous ribbon scrap that I received on a Christmas gift for a year or two, waiting for the right time to use it. Well, the time is now.


After choosing your ribbon, find some coordinating thread in your sewing kit. Thread a need, and tie a knot. You will want to use double thread.


Sew a running stitch close to one edge of the ribbon, from one end to the other.


After you have reached the end, lay the ribbon down and flatten it. Now, holding one end of the thread, pull the ribbon down toward the knotted end of the thread to form a ruffled ribbon.


It should look like this when you are done.

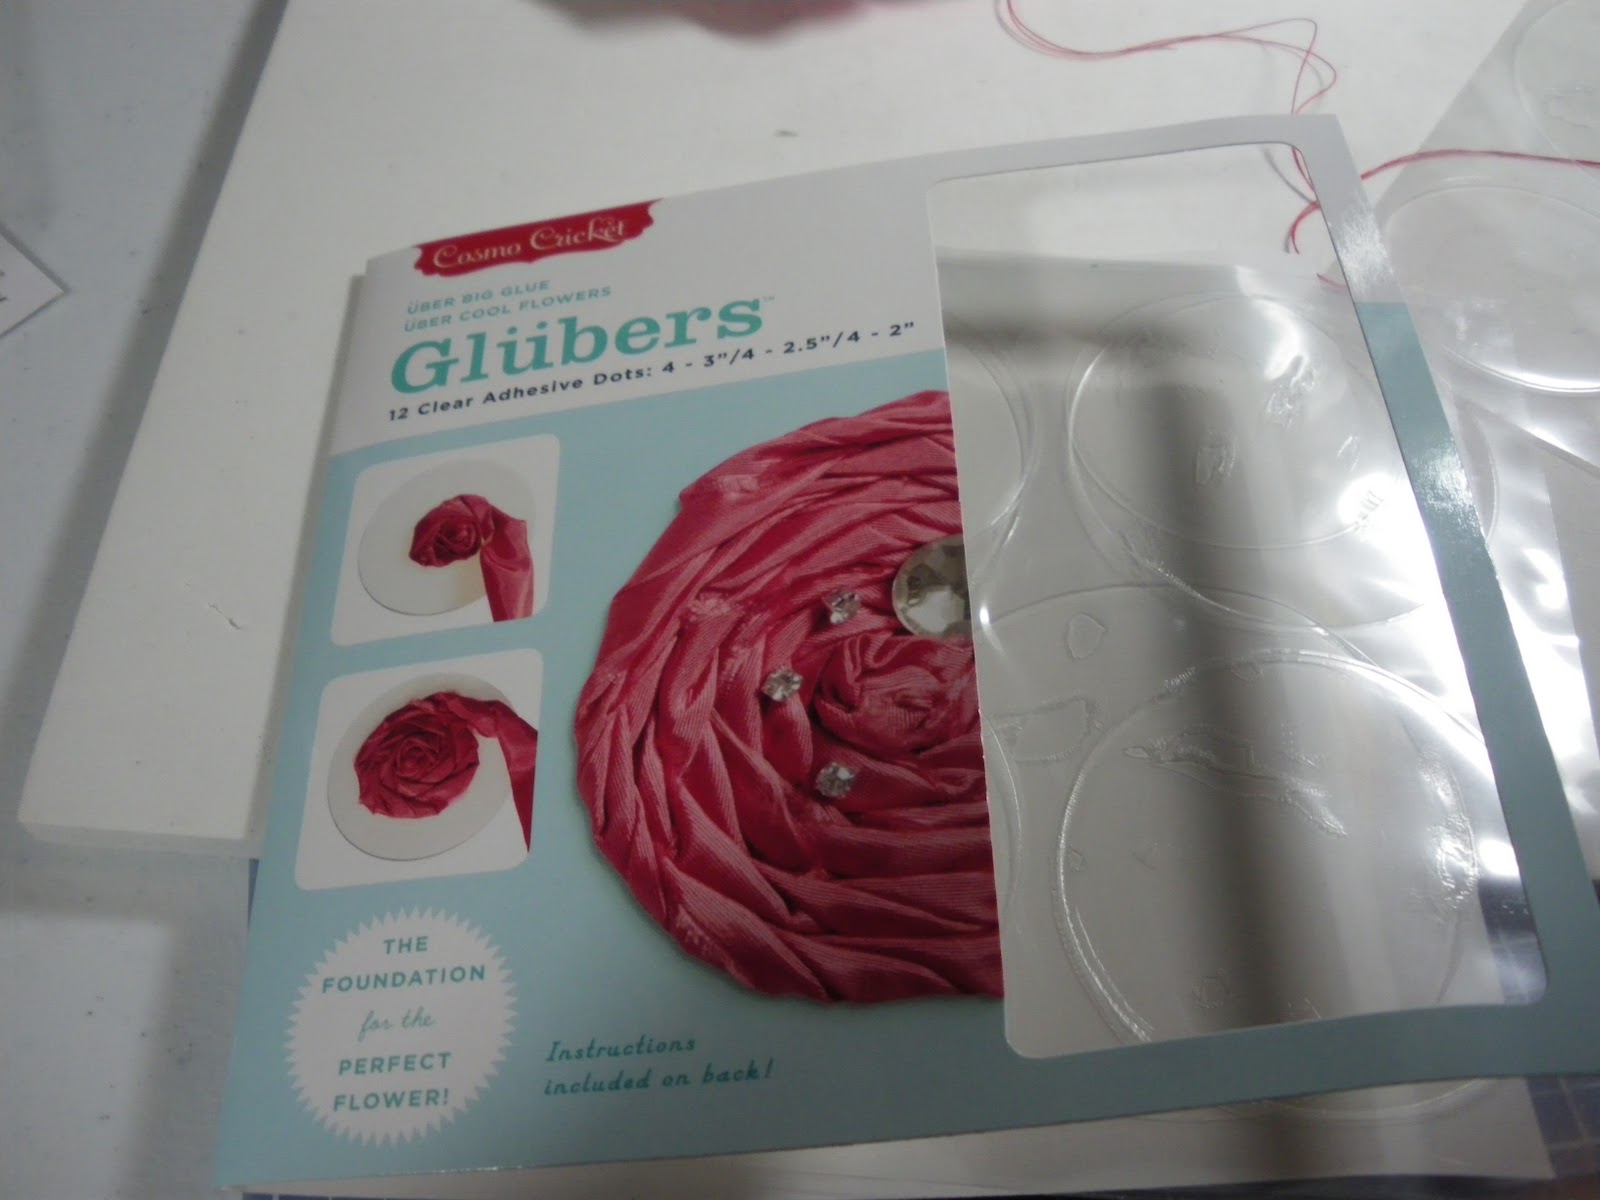
Next I used Glubers (large glue dots made by Cosmo Cricut for flower making).


This pack has multiple sizes. 4@ 2", 4 @ 2.5" and 4 @ 3". For this flower I used a 2" Gluber. I cut the Gluber, keeping it on the backing, to make it easier to use.


Next I took the ruffled ribbon and started the flower by placing it on the outside edge of the glue dot, and pressing it down onto the glue.


It was very easy to shape the ribbon to the glue circle. I went around the outer edge and then moved on towards the center with a second row.


I continued until I had covered the whole inside of the glue dot. I did not have to cut any excess ribbon (this was shear luck).  Once I had covered the whole dot with the ribbon, I cut off the excess thread that I had left on the ribbon.

I did not have a large enough self adhesive pearl for this flower, so I decided to create something using two different size pearls. One is made by Martha Stewart, the other by Recollections. I apparently forgot to take a picture of this flower after adhering these pearls, but you will get to see the finished result at the end of this tutorial.

Hopefully you are still in the mood to see another ribbon flower. This was one of the first I learned to make, and it is so easy and I love the result.

First, punch a circle. I find a 3/4 inch circle works best for me, but I lent my 3/4" circle punch to a friend so I had to find something else. Enter the largest flower from the Stampin Up Boho Blossoms Punch.


I used a Zotz medium glue dot (I'm pretty sure it's a medium glue dot, but I can't be 100% sure because I  threw away the box) and attached it to the middle of the punched flower (the one you see in the background is not the Zotz glue dot, I tried a thinner glue dot and it's not as good....use the thick ones).

Next, I took a 1/4 satin ribbon (the kind you can get at Michaels on sale for like 5 for a $1.00) and tied a knot in the end of the ribbon.


I started my flower by smooshing the knot into the center of the glue dot. I pushed the cut edge into the dot as well.

Now, once the edge is placed into the glue dot, I twist the ribbon and wrap it in a circle motion around the center knot.


and I continue....


twist, wrap, push into glue dot


Keep going until you have covered the whole glue dot.


Cut the ribbon leaving a very small tail (about 1/4 to 1/2 inch). Now, using a paper piercer, stylus, or something with a small pointy edge.....


tuck the ribbon tail into the glue dot (under the twisted ribbon).


It should look like this. Now, cut around the glue dot (removing the petals) and you will have a ribbon flower...


I've also left the petals on and used the ribbon as the flower center. The choice is yours.

Now, I have 3 flowers to use as embellishments for cards, scrapbook layouts or altered art.

Sorry for the long tutorial, but I wanted to share as much as possible. I would love to see any flowers you make using one of these techniques. As incentive, I am giving away a roll of satin Stampin Up ribbon. I think I will give away Real Red, in honor of the upcoming Christmas holidays. The winner will be chosen from anyone who posts a flower (using one of these tutorial methods) using the Inlinkz tool.
Deadline to post is next Tuesday, November 8th. The winner will be chosen at 9:00 PM EST.

Thanks for stopping by!
Carole from onmycraftroomwall