Friday, January 20, 2012

Run & Jump . . . Use Those Alphabets


Happy Friday everyone!  It's Sabrina from Sabriolet Designs.  I actually had a fairly productive week for once, and hey, I got a lot of crafty projects completed this week.  Go Sabrina!  So today is my day to post the first of your Weekend Challenges.  And here it is - Use those Alphabets!  You know the ones I'm talking about.  The ones you picked up at the craft store because they were just so cute and you had to have them.  If you are anything like me they spend most of their time sitting in a drawer, only occasionally pulled out and even more rarely used.  So, I decided to challenge myself to use some of those alphabets on my page today.  And of course I got carried away and used a bunch more of pre-made embellishments.  But that's what happens when you finally pay attention to what you have!  Here is the page:


My awesome little guy!


So there you have it - pull out those alphabets, those stickers and those rub-ons.  I challenge you to create a project where you don't die cut your titles or words - use your stash!  

Recipe:
Paper:  lilybee design - This & That, Picket Fence, Stationary Pear
Silhouette: scallop borders
Alphabet letters:  Making Memories Puffy Alpha, Creative Imaginations epoxy stickers
Other Embellishments:  October Afternoon, My Mind's Eye Stella & Rose brads

Thanks for stopping by!

Sunday, January 15, 2012

Use Your Stash - Brads

Diane Miller visiting once again from My Time to Craft. I know you all likely have that stash of brads that you just had to buy and never ended up using. Time to dust them off and put them to use.

I had a stash of button brads that would be cute for baby pages or cards, but we're past that stage, so it's time to do something with them.

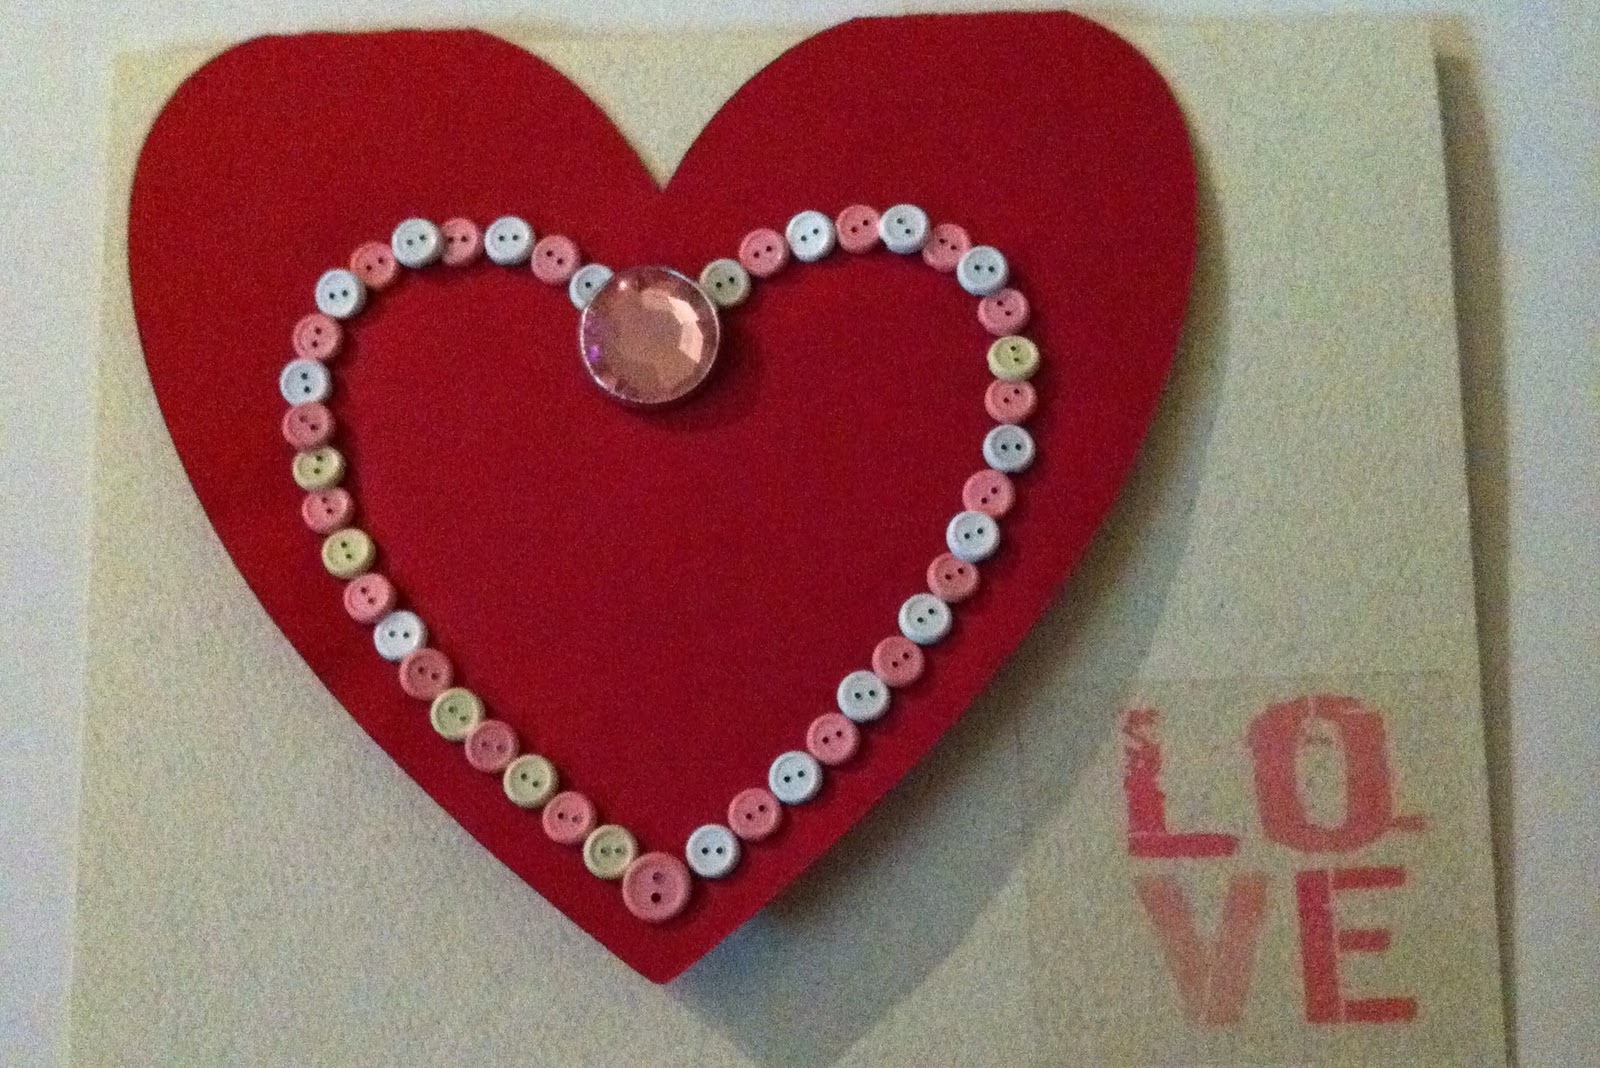
I cut the heart card from Wild Card which has a heart made out of holes for stitching on the front. Turns out they're perfect for brads too! I added one bling brad to the top center and used up a large number of brads to fill up the rest of the heart. I then put this over another card to hide the brad backs (the shadow is because it's not glued down yet) and added a sticker of a sentiment (need to use those up too, but that's for another time).

So, what brads to you need to use up?

Diane


Friday, January 13, 2012

Use Your Stash - Embossing (Faux Leather)

Hi Everyone.

This is Michelle from Lady of Leisure Ink, making my debut as a guest designer here on Paper Craft Weekend Challenge.  Thank you so much Allison and Caroline for giving me this opportunity.  I really am very new to this whole blogging world, and probably would not have even started my own blog had it not been for some 'threats' (I mean 'encouraging' ) words from a few friends (you know who you are.) All that having been said, let's get on with the challenge.

As tempted as I was to go out and buy something new to try for this post, I stayed true to the theme and used my stash - embossing folders and powders.  Here is my project.


This is not a completely new project, some of you may have seen this purse over on the Cricut message board, but I wanted to revamp it a bit and try a new technique - Faux Leather.  I started with  2 handbag shapes from Kate's ABC's (height 5.09") Use the Gypsy to flip one bag and then weld the bottoms of the bags together with a rectangle from George (height 3.6" and width 1.86")  Here is a screen shot of my Gypsy with the pattern ready to go.


The other pieces to cut out (keeping the same height) are the handles and the handbag flap.  Once all the pieces are cut you need to make an accordion fold on the rectangle like this.


Now we get to the embossing part, take your embossing folder and run each side of the handbag through a cuttlebug/sizzix machine.  I used the 'Bubble' folder, but the 'Mosaic' folder works even better.  Once the hand bag is embossed take an ink pad and randomly rub across the whole bag, including the flap.


Next, cover the one side of the bag with Versamark, sprinkle with clear embossing powder and heat set. It is much easier to do this one side at a time.


Attach the handles and flap, (I also used a brad for the 'clasp')  Here is a look at how I finished off the inside (the velcro dots come in very handy for keeping the card closed.)


I hope you will join in the challenge this weekend if you are able, and post your project using the link below.  Thanks once again Allison and Caroline for inviting me in to be guest designer.

Michelle


Sunday, January 8, 2012

January Product Challenge

Hard to believe it's already Sunday. This week (and weekend) seems to be flying by so fast. Can't say that I got in as much crafty time as I would have liked this week but I guess that's to be expected my first week back to work after a 2 week vacation.

But I do have to say I was inspired by my crafty friend Elise. She posted this beautiful wreath on the cricut message board last week Elise's wreath (scroll to post #5). Well I don't have the Art Philosophy cartridge and I'm really trying to use my stash. So since I do have the Flower Shoppe cart which I'm loving by the way I thought I could use a flower from there. Of course they aren't exactly the same flower but you still get the same results.

I knew I wanted to do red and pale pink. The key word being PALE pink. Well of course I didn't have the right shade of pink. Okay let me run to the store and get some ...... oh wait I'm supposed to be using my supplies not buying more. For Christmas I ordered some Glimmer Mists


from Blitsy. If you haven't checked them out hop on over to their website. They change their inventory all the time so you want to get it while it's hot. They ship SUPER DUPER fast. I've ordered from them 3 times and had all 3 of my orders within a few days of ordering.

So back to my project .... so a crafty friend suggested why not mist the paper and get the desired color you are looking for. So I took this paper

Front (notice the shimmer on the front side?)

Back (to dull for my liking)

and spritzed the paper (sorry it's hard to see the red paper)

I only spritzed the back of the red paper and then spritzed both sides of the cream paper.

I decided I don't want to make a wreath like Elise cause 150 flowers (which by the way only took her like a few hours to assemble (according to her)) I knew would take me weeks to complete. So I looked around my craft space and found these foam balls that I used for a different project


Silly me thought oh those aren't to large I could knock that out in a day and then I can do a hanging flower ball .... well either I'm the slowest crafter in the world or Elise is super craft woman cause this took me about a week to finish (mind you I didn't have hours to work on it at a time). Here's the finished product (except for the ribbon cause well I haven't decided which one to use yet cause I must use something from my stash)


Being a circle it was definitely hard to count how many flowers I used but I'd estimate there are about 65 flowers on there.

Now get out those glimmer mists (or any other "misting" product) and start creating. If you too were inspired by Elise's project watch out she's a guest designer this month and I can't wait to see what she has in store for us.

Happy crafting!!!!!

---Caroline


Thursday, January 5, 2012

January Sketch Challenge!

Time for some sketches! I kept things simple this month and I may have cheated a teeny bit but I got them done!
Layout Sketch
And the layout.....

I will admit this is an older layout - I did not have time - so I searched through my older layouts for something to use and I decided to pick this one because it uses a bunch of pictures and because I liked how I was able to use pictures from different events in the same layout!

My card sketch is very simple and I hope you all understand that I am just not the best card maker so I find simple is easier for me to wrap my head around.  

I was able to make TWO quick versions of this card since I kept is so simple - and you might recognize some elements of the card!


Do those snowflakes look familiar? They are from my Technique Tuesday post! For the first card I stamped the sentiment on a ribbon and added a gem sticker, while on the second card I added a gem brad and an embossed piece of paper that I pop dotted for some extra dimension.

I hope you are inspired by my simple sketches and not too hurt by my cheating - can't wait to see what you make! Happy crafting!
---Allison


Tuesday, January 3, 2012

Technique Tuesday - Learn to Love your Xyron

Happy New Year! and who can believe it is time for Technique Tuesday already? This month I am going to share with you how to use one of my favorite tools - the Xyron machine. I bet there are some of you who have one and *gasp* haven't even used it! I am giving you the stinkeye right now because I expect you to march right down to your craftroom and get it out - you won't be sorry! You don't need one of their bigger machines - an X or a 250 will do - that is all I have - although I have to say - I fream of the day that Xyron 500 will come home with me!

So I began my Xyron exploration with the following supplies:


  • Martha Stewart Glitter and Flocking
  • Glitter Tray
  • Paint Brush (stolen from child)
  • Acrylic (recycled from cartridge clamshells)
  • Xyron 250


I cut four snowflakes at 2 inches from the Sesame Street Seasons cart out of the acrylic which I decided to use because I didn't want any paper colors to interfere with my various glitter colors.However I think you will see there was an unintended but very welcome result with how my snowflakes turned out!

 I ran them all through the Xyron and then I lay the sheet (flake side down) on my mat and use my spatula to burnish the back of the tape. You can also then flip it over and use something like a bone folder to outline the shape to reduce "glue boogers" - which I have never found to be too great an issue.

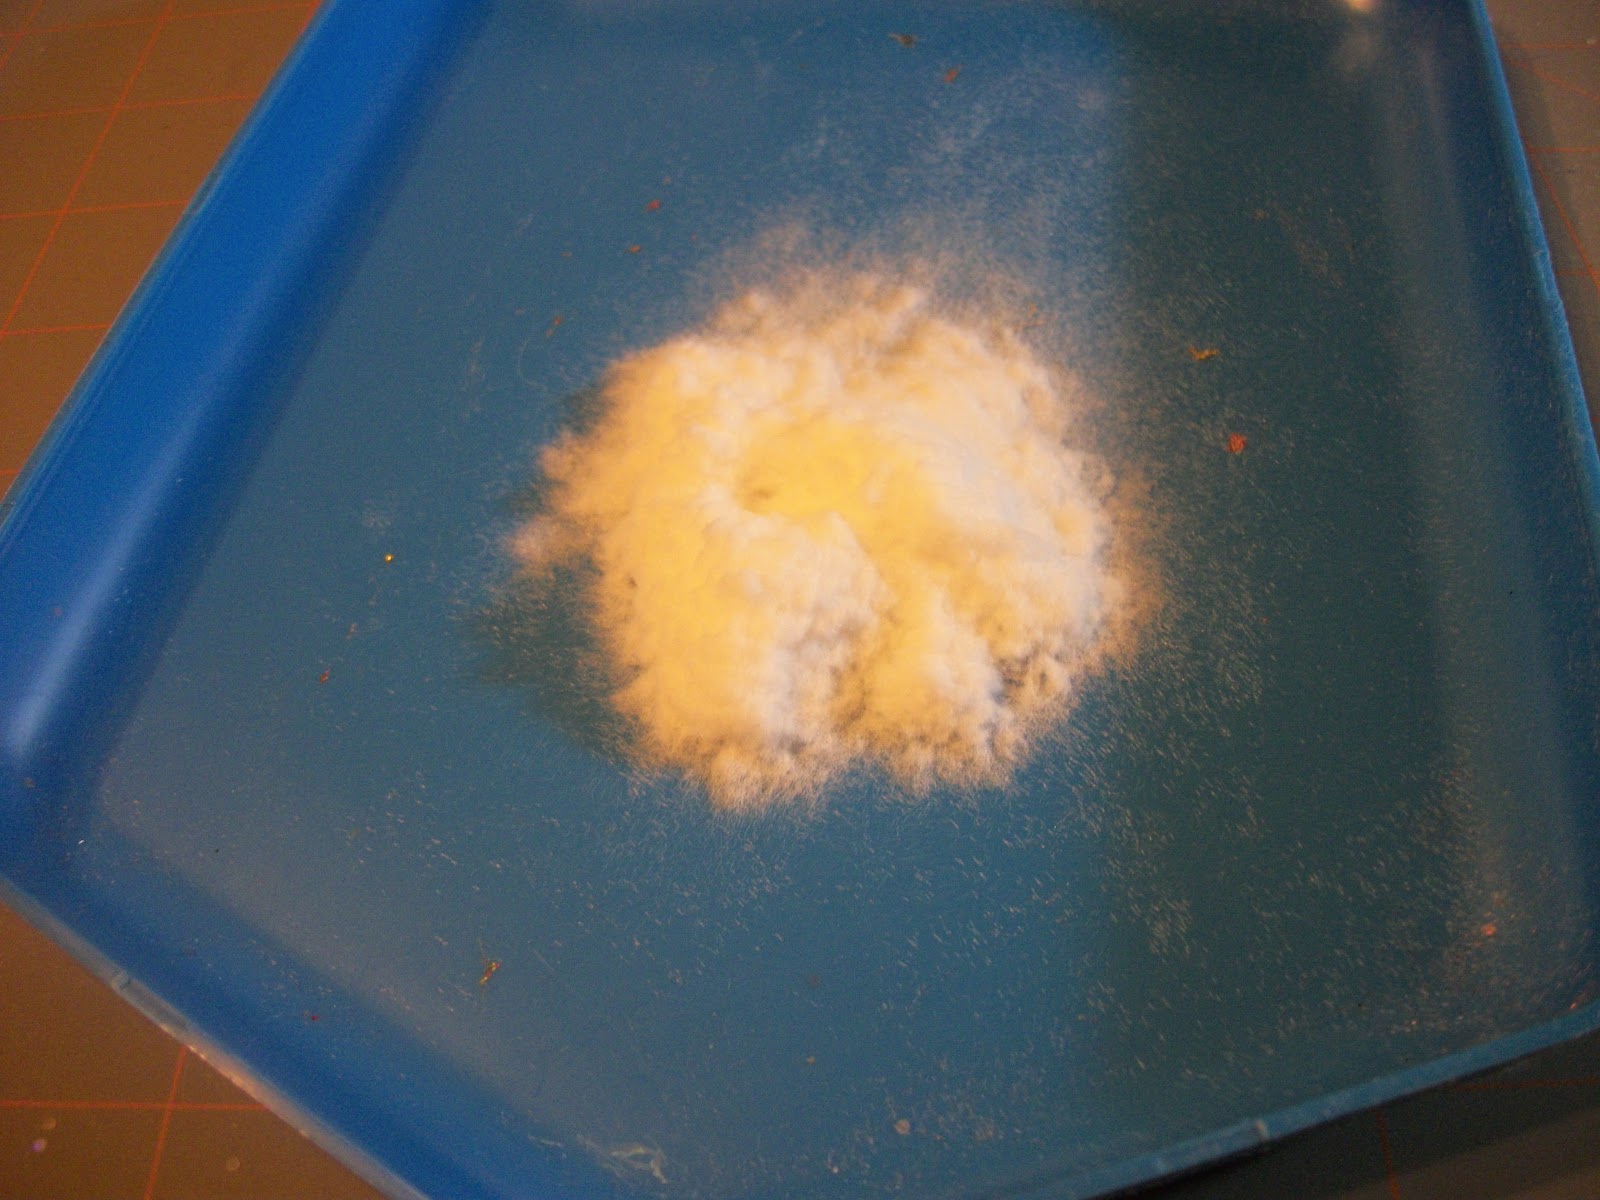
I placed a flake in my tray and dumped a bunch of flock over it. 

Then you can lift the cut out and shake off the excess. I hope you can tell from the picture here that this is when I realized the acrylic was a fabulous choice because you can see the flocking but it still gave the illusion of being translucent and snowflake-y.

I realize these next set of pictures didn't come out terrific but trust me they look better in person! 
White Flocking

Fine Glitter

Tinsel Glitter

Microbead Glitter

And here they all are in a row for your comparison:

And the beauty of the Xyron? No drying time! Because I certainly don't have the patience to wait for things to dry. Not to mention it is so easy you can do this all with a two year old on your lap. Want to know how I know??

I hope this has inspired you to get your Xyrons out (or maybe even enabled you to get the coupons out and go get one) and since it is Technique Tuesday that means we have blog candy!

I have a Designer's Calendar cartridge to give away to one follower who leaves a comment on this post. Why this cartridge? It has tons of extras for every holiday and one of my absolute favorite fonts. What better way to start off your year? You have until next Tuesday, January 10th. Happy Crafting!
---Allison

Sunday, January 1, 2012

Happy New Year

Happy New Year!!!!!!!! We are looking for another great year of challenges and if you saw Allison's announcement on Friday we are looking for some designers to join the challenge ranks.

How many of you made resolutions this year? Not me .... well maybe that isn't entirely true. I tend not to make resolutions cause I always fail. But I did tell myself that I was going to try to craft more often so in the spirit of my "no resolutions" to help achieve my goal why not have a challenge right? Well it is Sunday and it's time for another challenge.

For today's challenge it's an Anything goes challenge but with a twist. You must use pictures in your project. Gasp ... I know who doesn't use pictures??? Well I was reflecting on the many projects I completed for 2011 and well I made a TON of cards but also neglected my other love, Photography. So why not incorporate my love of both. This past week while on vacation I had the opportunity to go to Butterfly World in South Florida. And OMG I'm freaking in love. I will definitely be going back there and probably by myself cause I could literally spend HOURS and HOURS and HOURS sitting there photographing the butterflies and birds.

Sorry, didn't mean to get off on a tangent. So I had these photo coasters lying around waiting for pictures and I wanted to send them to my mom and dad to enjoy to remember our trip to butterfly world.


The coasters came in a cute little wooden box but I thought it was to plain. So I decided to jazz it up a little but and cut a vine from Wall Decor and More and then added some 3-D flowers from Flower Shoppe and a layered butterfly from an EK punch.


And here they are all inside the case


Now let's start off the year right and see some of those crafty projects you are working on. Don't forget to see the design team post below if you haven't already.

Happy Crafting and here's to a great 2012!!!!!!!!!!!!

---Caroline